Pages

Wednesday, April 15, 2015

Falling Off the Self Love Bandwagon

Don't let the title scare you, I'm back with a renewed no shit attitude! The truth is though, that I let my negative thoughts creep in and get the better of me yesterday, resulting in me blasting Facebook with a whiny "wah, wah I'm so fat" status update. Yuck. Not only does that seriously gross me out but I'm pretty disappointed in myself. How can I claim to promote body love and acceptance while slamming myself for pregnancy weight gain for all the world (ok, just my fb friends) to see? Because, because people. It isn't easy loving yourself. It's really not easy loving yourself in a world that throws pinterest hot bod after pinterest hot bod pic at you while you simultaneously gain weight just looking at all those fantastic dessert recipes. But I'm bigger than that. Pun intended. I've come way too damn far in my 28 years to back down from being hella proud of this body and it's accomplishments. I've been down the path that is self hate and you know what? It's a boring ass path, overcrowded, with way too many rules about what you can't do, who you can't be because you're not as good as the next person. I began crossing over to self love sometime in the 1st year of my son's life. I hit my lowest low when Abel was born and I *gasp* didn't drop that extra 40 pounds before leaving the hospital. I came home to clothes that didn't fit and a mirror reflection I hardly recognized and it crushed me. I've spent my entire life being the thin girl society told me I should be and yet I found myself in a target dressing room buying size 11 capri's to get me through the summer even though the 13's fit much better. I felt embarrassed and ashamed of myself, for what? Fast forward 3 years and a whole lot of personal growth later and I'm just not that person anymore. It's so very cliché to say but I've really come into my own since becoming a mother. I know who I am, where I stand, what I believe in, where my strengths lie and my weaknesses too and it's hard not to love yourself for it. I knew going into this pregnancy that I wanted to stay healthy because as long as I'm doing that I can love myself through whatever changes my body needs to take on to give me my healthy baby. So when I hurt my foot a week ago, ruling out physical activity I literally felt the self doubt creep in from all corners. Suddenly, I was looking in the mirror with disgust instead of admiration. It wasn't until I vocalized what I'd been feeling that I realized what was happening. Woah. 

So let's just cut that shit out right now. I have 6 more weeks to fill these thighs with brain food for what will be the smartest baby girl to ever live. I'll be damned if that little love ever hears me do anything but worship the extra pudge on my belly or the extra large boobs that'll help her grow through her first few years because. fuck society. We deserve better.  We don't owe it to anyone to look a certain way but we owe it to ourselves to treat our minds with respect. So today I'm saying sorry, to my voluptuous baby bod for being anything but awe struck over what you're doing. Keep up the good work.

 Your #1 Fan


Saturday, April 4, 2015

DIY Simple Baby Blanket


Woohoo! Another baby blanket, finished! That's 3 down, 2 more to go (stay tuned for the sweet crocheted blanket I haven't gotten around to posting pictures of yet). I know I say this a lot but, ya'll this was easy peasy! All you need are two coordinating fabrics in whatever size you'd like your blanket and a little time with your sewing machine. I went with a super soft baby pink flannel and this amazing black and white floral that my friend so graciously let me have (it was the leftover material from baby girl's changing pad cover). The results make for a lightweight blanket. If you want something a little warmer you could totally add a layer of batting into step 1 and pin it down with your layers. Enjoy!


Step 1. Lay your fabric out back to back (so the good sides are facing each other) and cut your edges straight. I used my dining room table to do this and found it way easier than laying it out on the floor. Pin all the way around every few inches. 

Step 2. Make sure to leave a good 6-12 inch non pinned area. This is the hole you will use to flip your fabric through once you've finished sewing your edges. It's really hard to see but I marked mine with two horizontal pins so I didn't accidentally sew over my opening.

Step 3. Not pictured, sew all the way around your edges making sure to not sew over that opening you've marked with pins. Cut the excess fabric off of your edges and flip your blanket right side out. 

Step 4. Heat your iron up and press all of your edges neatly down taking time to fold in the edges of your opening and iron them down as well. Pin your opening in place so it doesn't slip.

Step 5. Starting with your opening, sew all the way around once more, being careful to stay close to the edge, so you catch the fabric of your opening and securely sew it shut. TADA! You're done. Sit back and admire your work. 

Wednesday, April 1, 2015

DIY Gauze Swaddling Blanket

Guys! I am so excited to share my latest DIY project. These muslin swaddling blankets cost a small fortune in stores so of course when I saw a tutorial on Pinterest, I had to try it out! I am so glad I did because not only was it amazingly simple but really cheap too! I bought my gauze fabric at our local Hobby Lobby and they had plenty of cute colors to choose from including white (which you could dye so the possibilities are endless here). I roughly followed this tutorial. My edges aren't super perfect, mainly because I was duking it out with my sewing machine the whole time but i'm telling myself it adds charm ;). I hope you'll try these for yourself and love them just as much!


Here's a quick little rundown of how I made the blanket! For a more in depth tutorial definitely follow the link above!

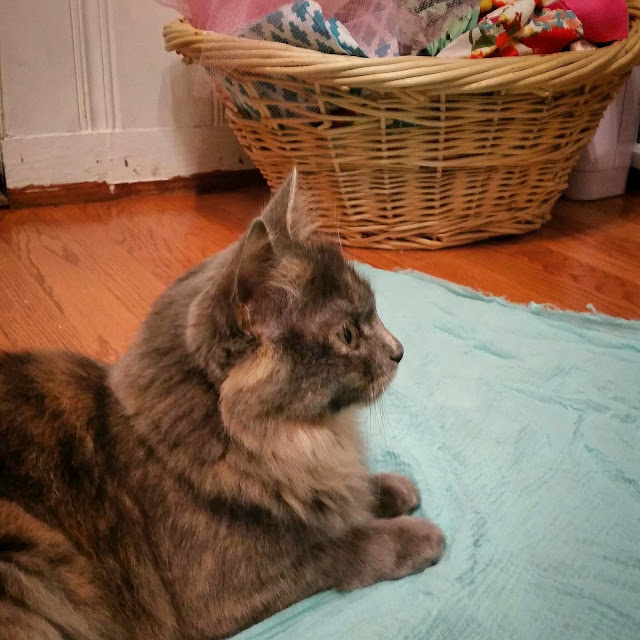
First, lay out your fabric and quickly decide to lock your pesky ass cat in the basement because she refuses to stop "helping". Feel an immediate sense of gratification wash over you. 
Next smooth your fabric and fold into a square. Cut your raw edges straight. I think my final blanket measures about 50X35 but you can make it any size really. You just want it kind of big for swaddling.
Lastly, fold your edges over about a quarter of an inch and then again another quarter inch so the raw edge is nice and hidden. Continue folding over as you sew all the way around and voila! That's it!
 
Images by Freepik